How to Clean Cat Ears Safely
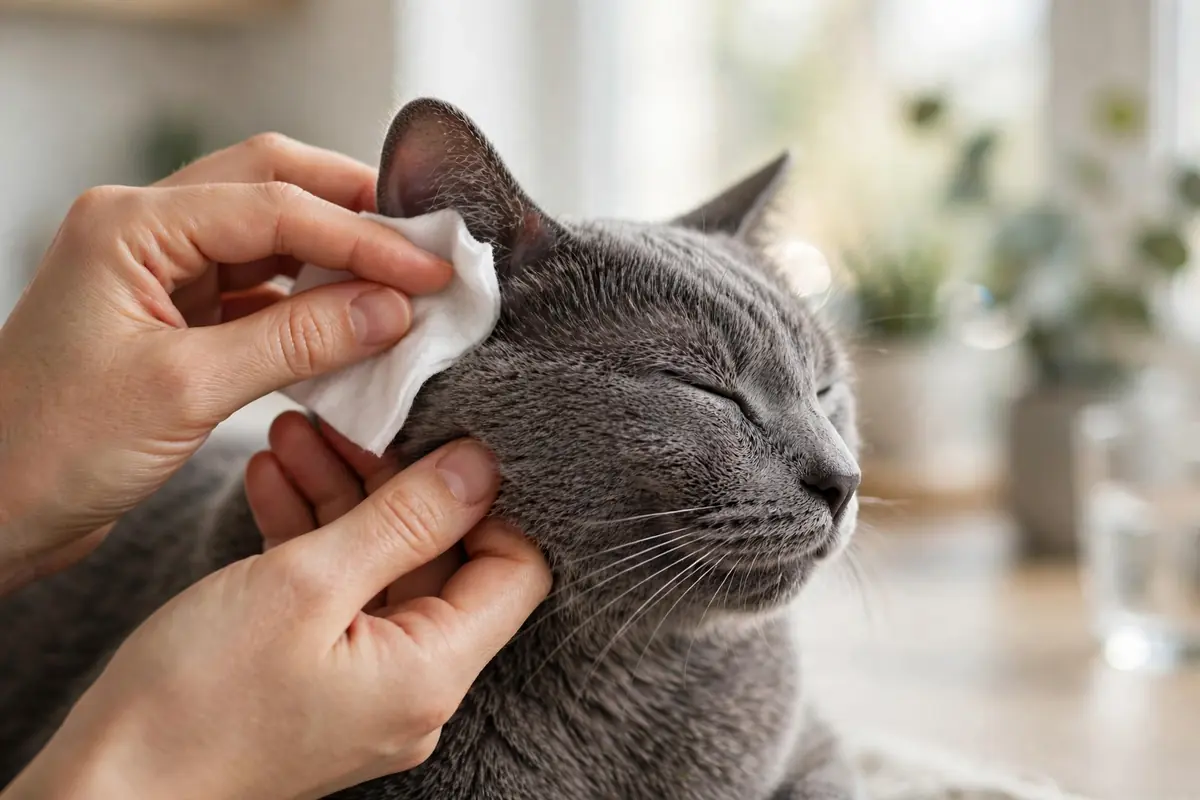
To clean cat ears safely, use a vet-formulated ear cleaner, wipe only the visible outer ear and ear flap with a soft cotton ball or gauze pad, and never push anything deep into the ear canal. Most cats only need this every few weeks — and some healthy cats rarely need it at all. The whole process takes five minutes once you know the routine, and done gently, it can become a calm part of your regular care guides routine rather than a wrestling match.
Ear cleaning is one of those tasks that sounds intimidating but is genuinely simple once you have seen it done properly. The biggest mistakes owners make are going too deep, using the wrong products, or cleaning far too often. This guide covers when cat ears actually need cleaning, the supplies to have on hand, a step-by-step technique, and the warning signs that mean the vet should take over instead of you.
Do Cats Even Need Their Ears Cleaned?
In most cases, cats keep their own ears reasonably clean. A healthy indoor cat with normal wax production may never need an ear cleaning from you. The ear canal is self-cleaning to a degree: wax and debris naturally migrate outward, and regular grooming handles the rest. So the first rule of ear cleaning is simple — do not fix what is not dirty.
Some cats do benefit from occasional help. Breeds with floppy or folded ears (like Scottish Folds), outdoor cats that collect dust and pollen, and individual cats that simply produce more wax tend to accumulate visible buildup in the folds of the ear flap. That buildup, if left alone for months, can trap moisture and become an inviting environment for yeast or bacteria. A quick weekly peek inside the ears tells you everything you need to know: if you see dark wax or grime in the crevices, it is time for a gentle cleaning. If the ears look pale pink and clean, leave them alone.
What You'll Need (Vet-Approved Supplies)
Gather everything before you start, because once you have a cat in your lap you will not want to get up again:
- A vet-formulated ear cleaner for cats. This is the single most important item. Pet ear cleaners are pH-balanced for the feline ear canal and contain gentle drying agents. Do not substitute dog ear cleaner, baby wipes, or anything from your bathroom cabinet.
- Cotton balls or gauze pads. Soft, absorbent, and — crucially — too big to disappear down the ear canal. Buy a generous bag; you will use several per ear.
- Treats and a towel. Treats reward cooperation and build a positive association. A towel on your lap protects your clothes and can be loosely wrapped around a squirmy cat.
That is genuinely all you need. Notice what is missing: no cotton swabs, no hydrogen peroxide, no rubbing alcohol, no olive oil, no homemade vinegar mixtures. Each of those appears in online advice somewhere, and each carries real risks — covered in detail below.
Step-by-Step: How to Clean Cat Ears Safely
Pick a calm moment — after a meal or a nap, not right after a zoomies session. Sit with your cat in a comfortable, familiar spot and speak softly throughout. If your cat tenses up or tries to leave at any point, pause. Forcing the process teaches them that ear cleaning is something to dread, which makes every future session harder.
- Inspect first. Gently fold the ear flap back and look inside. Healthy ears are pale pink with a thin layer of pale wax or none at all. If you see thick dark discharge, a bad smell, redness, or scabs, stop here — do not clean over an infected ear; book a vet visit instead.
- Warm the cleaner. A cold solution startles cats and makes them flinch. Hold the bottle in your hands for a minute or warm it briefly in warm (not hot) water. Test a drop on your wrist — it should feel neutral, not cold.
- Apply the cleaner. Lift the ear flap to straighten the canal slightly, place the bottle tip at the opening of the ear canal, and squeeze in a few drops according to the product's instructions. Do not push the tip into the canal — it should just rest at the entrance.
- Massage the base of the ear. With the flap still lifted, use your thumb and forefinger to massage the base of the ear (the firm cartilage below the ear) for 20 to 30 seconds. You will hear a soft squelching sound — that is the cleaner loosening wax and debris deeper in the canal where you cannot reach. This step does the real work.
- Let your cat shake. Release the ear and let your cat shake their head. This is expected and helpful — the shake flings the loosened debris up into the outer ear where you can wipe it away. Many cats will do this automatically the moment you let go.
- Wipe the visible areas. Wrap a cotton ball or gauze pad around your fingertip and gently wipe the folds of the ear flap and the visible entrance of the canal. Use a fresh cotton ball for each ear so you do not transfer anything between them. Never push the pad into the canal — if you cannot see it, do not reach for it.
- Reward and release. Offer a treat, a bit of play, or calm praise immediately afterward. Ending on a positive note is what turns a tolerable task into a routine your cat accepts. Then wash your hands.
Repeat on the second ear. The whole routine usually takes under five minutes once both of you are used to it. For more everyday routines like this one, the Purrfect Paws homepage has a growing library of practical guides.
How Often Should You Clean Cat Ears?
Less often than most people assume. For a typical healthy cat, checking weekly and cleaning every two to four weeks — only when you see visible buildup — is more than enough. Some cats genuinely go months between cleanings with no issue at all.
Clean more frequently only if your cat falls into one of the higher-need groups: cats prone to excess wax, outdoor cats during dusty or pollen-heavy seasons, or cats your vet has specifically asked you to clean (for example, as part of managing a mild wax issue). Even then, follow your vet's suggested schedule. Over-cleaning is a real problem — scrubbing a healthy ear too often strips away protective oils and irritates the delicate skin, which can paradoxically trigger the very infections you were trying to prevent.
What NOT to Do (Q-Tips, Water, Homemade Remedies)
Most ear-cleaning injuries come not from cleaning itself but from cleaning the wrong way. Avoid these common mistakes:
- No cotton swabs (Q-tips) in the canal. This is the big one. A swab packs wax and debris deeper into the canal, where it hardens against the eardrum. In worst cases, an unexpected head movement while a swab is inside can puncture the eardrum — a painful injury that needs emergency care. If you remember one rule from this article, make it this one.
- No water. Plain water does not dissolve wax effectively, and moisture left in the warm, dark ear canal creates ideal conditions for yeast and bacterial infections. Vet cleaners contain drying agents for exactly this reason.
- No hydrogen peroxide or rubbing alcohol. Both are harsh on the sensitive skin inside the ear, cause stinging (especially if there is any inflammation), and can damage healing tissue. Only use them if your veterinarian has explicitly told you to.
- No homemade remedies. Olive oil, coconut oil, and vinegar-water mixtures circulate endlessly in pet forums, but they can trap moisture, irritate the canal, or mask the symptoms of ear mites and infections — delaying real treatment. A proper cat ear cleaner costs little and is formulated for this exact job.
- Do not dig at the canal. If you cannot see the debris, leave it. Deep canal cleaning requires veterinary tools and, usually, sedation. Anything you cannot reach with a fingertip-wrapped cotton ball is beyond the scope of home care.
Signs of an Ear Problem to Watch For
Regular checks mean you will notice problems early. Call your veterinarian rather than attempting home cleaning if you see or notice any of the following:
- Dark, coffee-ground-like debris — the classic sign of ear mites, especially in kittens.
- A strong or yeasty odor coming from the ears.
- Redness, swelling, or scabs on the ear flap or at the canal entrance.
- Persistent head shaking or tilting, or constant scratching at one ear.
- Pain reactions — yelping, flinching, or aggression when the ear is touched.
- Balance problems — stumbling or walking in circles can indicate a middle or inner ear issue.
Ear infections and mites do not resolve on their own, and they become harder to treat the longer they wait. Cleaning an already-infected ear at home can push infection deeper and delay the diagnosis your cat needs. When something looks or smells wrong, the vet's office — not the cleaning supplies — is the right next step.
Frequently Asked Questions
How often should I clean my cat's ears?
For most cats, every two to four weeks is plenty, and some cats never need routine cleanings at all. Cats that produce more wax, have floppy ears, or live outdoors may need more frequent care. Check your cat's ears weekly and clean only when you see visible dirt or wax buildup.
Can I use Q-tips to clean my cat's ears?
No. Cotton swabs push wax and debris deeper into the ear canal, which can cause impaction or even damage the eardrum. They are one of the most common causes of avoidable ear injuries in cats. Use soft cotton balls or gauze pads on the visible parts of the ear only.
Can I use olive oil or homemade remedies to clean cat ears?
Homemade remedies like olive oil, vinegar mixtures, or hydrogen peroxide are not recommended without veterinary guidance. They can irritate the ear canal, trap moisture, or mask the symptoms of infections and ear mites. A vet-formulated ear cleaner made for cats is the safe choice.
What does dark brown wax in my cat's ears mean?
A small amount of brownish wax is normal. But heavy, dark brown, coffee-ground-like debris — especially combined with head shaking, scratching, or odor — is a classic sign of ear mites. Thick dark discharge can also indicate a bacterial or yeast infection, so a vet visit is the safest move.
My cat won't let me clean its ears — what should I do?
Stop and try again another time rather than forcing it. Build a positive association with short sessions, gentle handling, and treats. Clean when your cat is calm and sleepy, not right after play. If your cat consistently reacts with pain or aggression, let your veterinarian handle the cleaning — discomfort may signal an underlying problem.